
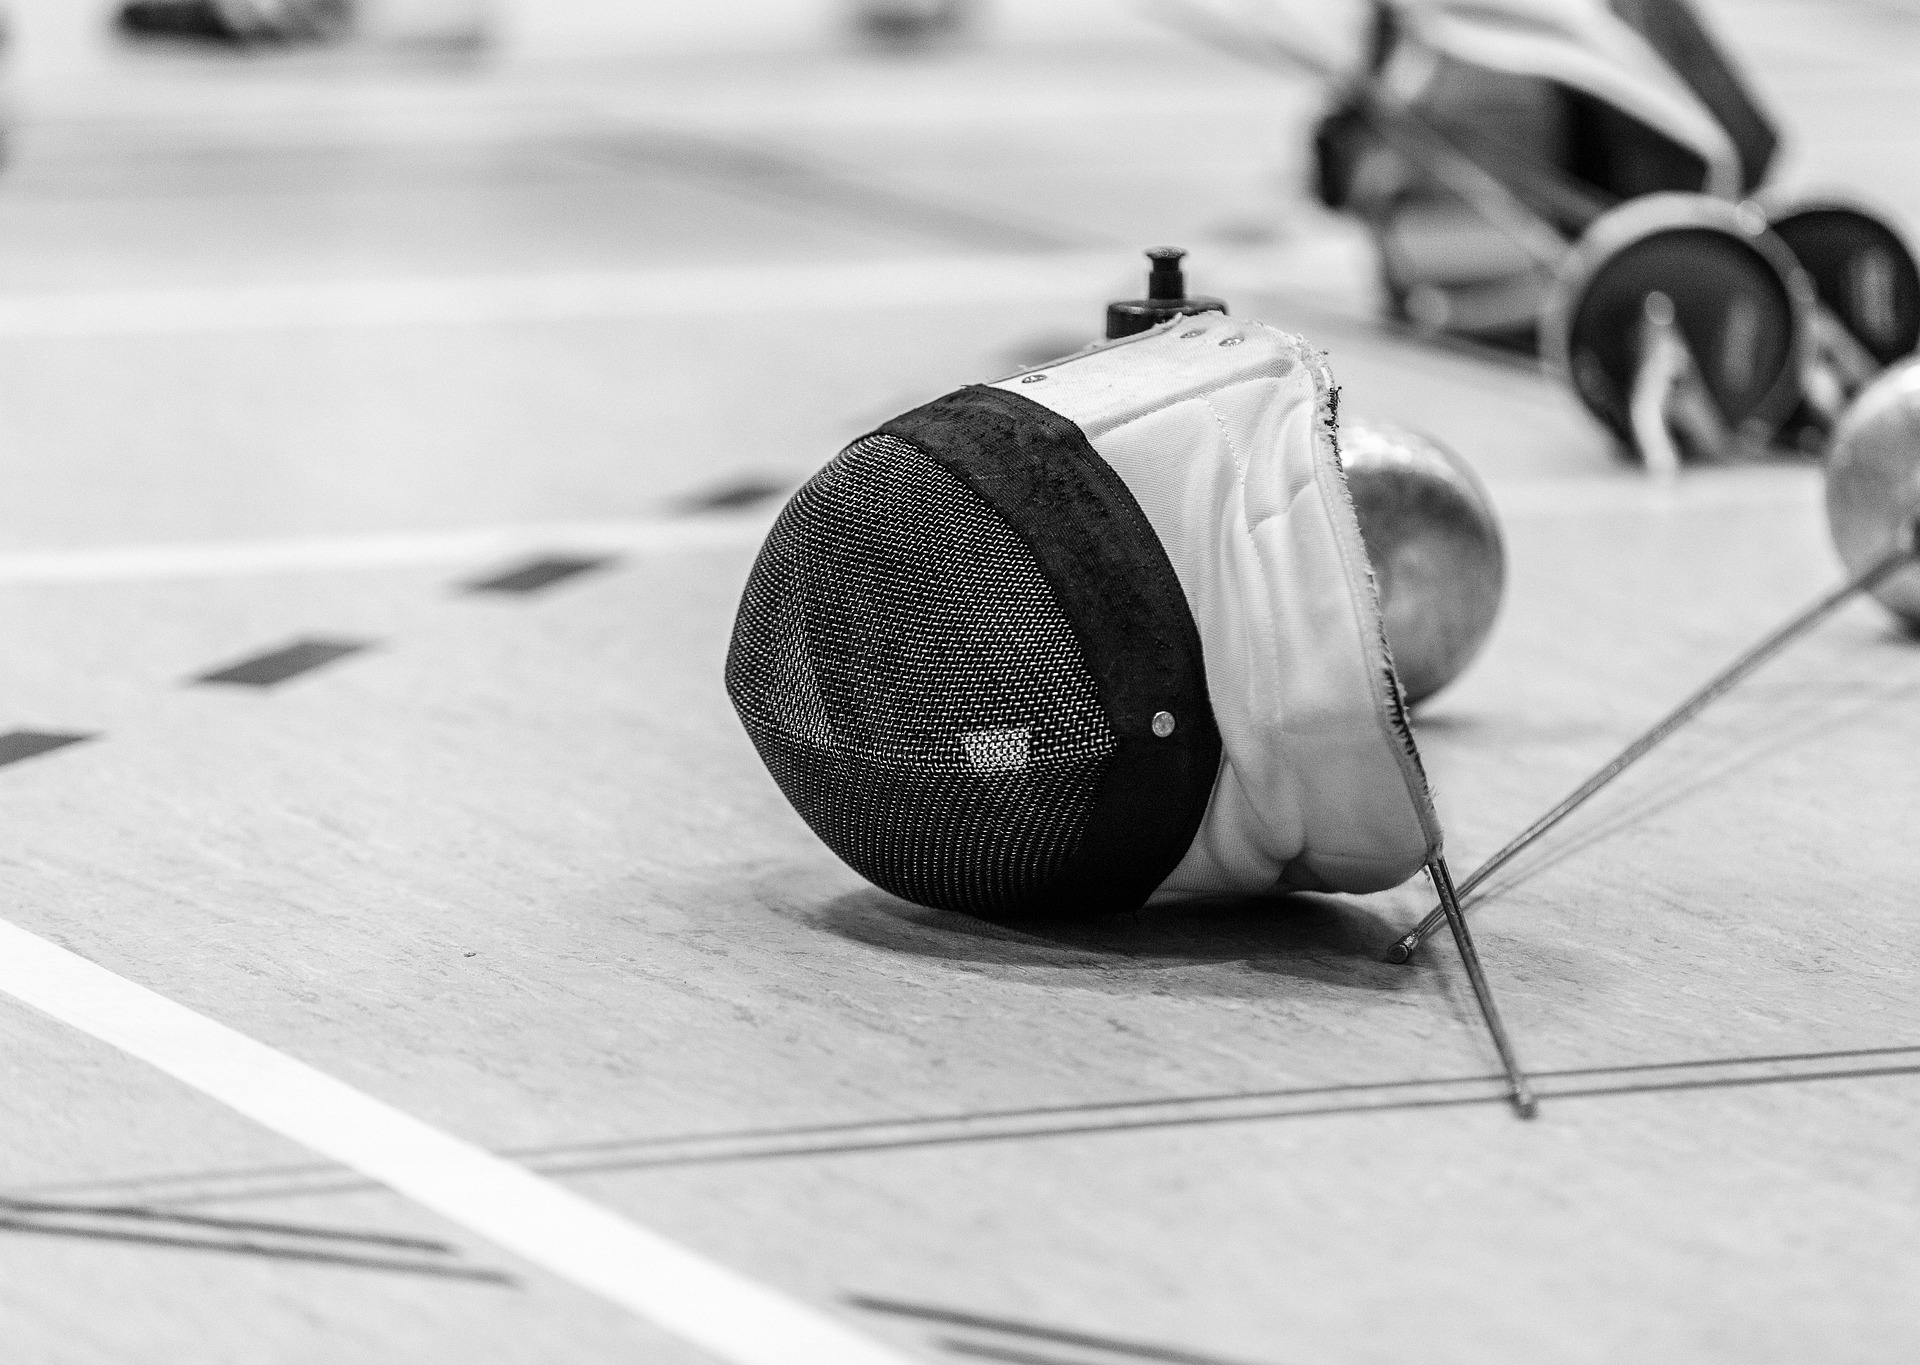
Investing in your own fencing gear is a major milestone. Whether you are stepping onto the piste for local club bouts or traveling to regional tournaments, owning your equipment gives you consistency, confidence, and a setup customised to your style.
However, fencing gear, especially electric épée equipment, is an investment that requires proper maintenance. Neglect your equipment, and you’ll find wires failing mid-bout, blades snapping prematurely, and uniforms developing a stubborn odor.
Proper fencing gear maintenance ensures safety, extends their lifespan, and keeps your equipment passing equipment checks every single time.
When to wash your fencing gear & equipment?
Keeping up with a regular cleaning schedule prevents bacteria build-up and extends shelf life. When do you wash each piece of equipment?
| Equipment | Cleaning frequency | Recommended method |
| Épée blade & body wires | Never wash with water | Wipe down the blade with a dry microfibre cloth after every session. Clean sockets with dry cotton swabs as needed. |
| Mask (Bib & interior) | Monthly (Spot-clean weekly) | Wipe down the interior padding with a damp, soapy cloth weekly.
Hand-submerge only the fabric bib in warm, soapy water monthly, keeping the metal mesh dry. Air dry completely in a ventilated area. |
| Gloves, jacket, breeches & plastron | Every 1–2 weeks (or more often if training heavily) | Machine wash cold on a gentle cycle using mild detergent. Never use bleach, fabric softeners, or hot water. Hang to air dry. |
| Socks & shoes | After every session for socks & weekly (Spot-clean) for shoes | Use a damp cloth or soft brush with mild soap to wipe away sweat, court dust, and sole grime. Air dry away from direct heat; never machine wash or submerge. |
| Fencing bag | After every session (Air out) / Monthly (Deep clean) | Unzip fully and air out after every training session.
Monthly, vacuum out accumulated dirt and wipe down the interior and pockets with a disinfectant wipe or damp cloth. Spray with a fabric disinfectant and air dry completely. |
Here is your ultimate guide on how to care for your list of fencing equipment.
Fencing gear #1. Épée blade & weapon
Whether epee, foil, or sabre, the weapon is your lifeline on the strip. Between heavy parries, aggressive counter-attacks, and the natural stress of flexing steel, your épée takes a beating.
Here’s how to do proper maintenance and how to clean your fencing blade.
Firstly, inspect the tip and barrel whenever you use it. The tip of an electric épée houses a delicate spring mechanism and tiny screws. Check your tip screws before every practice session. If a screw is loose, gently tighten it with a precision screwdriver. A loose screw will lead to a flying tip, causing dead hits.
Next, watch for rust and burrs. Moisture from sweat and humidity can cause steel blades to rust. Wipe down your blade with a dry microfibre cloth after every session. If you spot small burrs or rough metal shards on the blade (often caused by opposing weapon friction), smooth them out gently using a polishing stone for fencing blades so they don’t snag uniforms.
Be sure to also store your weapon properly. Never leave your épée in the heat. High temperatures can degrade plastic components. Store your weapons upright or flat in a dedicated fencing bag with a blade cover to protect the tips.
Fencing gear #2. Electrical components (Body wires)
An épée is only as good as its circuit. Nothing is more frustrating than hitting your opponent cleanly, only for the scoring box to stay silent because of a loose wire or a frayed cord.
Coil, don’t wrap! Never wrap your body wire tightly around your hand or the guard of your épée. This creates sharp bends that snap internal copper wires. Instead, loosely coil the wire in a natural, circular loop.
Sweat and chalk can also build up inside the pins of your body wire and the socket of your guard. Periodically inspect the plastic plugs for cracks and use a dry cotton swab to clean out any debris.
Lastly, test before you compete. Always plug your gear into a test box or practise with a teammate before a tournament to check for intermittent connection drops caused by internal wire damage.
Fencing gear #3. Fencing uniform
Fencing is a high-intensity, full-body workout, meaning your uniform absorbs a tremendous amount of sweat. Without proper washing, your gear will degrade quickly and smell worse for wear.
3a. Mask
Your mask is one of, if not the most important piece of equipment. So, how do you clean and care for this fencing gear?
Regularly check the wire mesh for dents, loose welds, or structural damage. A dented mask compromises its safety and will fail tournament equipment control.
The fabric bib attached to the mask absorbs the most sweat. You can spot-clean it with a mild soap and a damp brush, or submerge the bib section in warm, soapy water while keeping the metal mesh dry if possible. Let it dry out in the open air to prevent mould growth and unpleasant odors on the inner padding.
3b. Gloves, jacket, breeches & plastron
Besides your mask, don’t forget to take care of your other wearables! Check the gear’s care labels. Most modern synthetic fencing fabrics (like cotton-polyester blends or heavy-duty nylon) are machine washable, but you must take precautions.
Always wash your whites in cold water on a gentle cycle. Never use bleach or optical brighteners on FIE-rated safety fabrics, as chemical bleaches can break down the fibres and lower the material’s puncture resistance (Newtons rating).
Also, skip the dryer. Don’t put your fencing jacket, breeches, or plastron in a hot clothes dryer. The high heat will shrink the technical fabrics, ruin the elasticity, and compromise the safety ratings. Instead, hang your uniform up to air dry completely before packing it away.
3c. Socks & shoes
Avoid wearing your indoor fencing court shoes outside on rough pavement. Wearing them to the venue and back ruins the specialised rubber grip, which you need for explosive lunges and quick lateral direction changes on the piste.
Fencing gear #5. Fencing bag
Fencing bags are notorious for trapping moisture. Open your bag zipper entirely when you get home from practice to let your gear breathe. Throwing a small charcoal or silica moisture absorber pouch into the bag can also help keep odours and mildew at bay.
Maintaining your fencing gear helps keep them looking clean and protects you well on the strip. Treat your equipment well, and it will keep you safe and scoring for years to come!

Frequently Asked Questions (FAQs) about fencing gear maintenance
1. How often to replace the épée tip springs?
Replace your tip pressure spring whenever it fails the 750g weight test during practice or feels noticeably compressed. It is good practice to swap out tip springs every 3–6 months depending on how frequently you train and compete.
2. Can you wash the electric épée body wires?
No, never submerge body wires or socket cords in water. Moisture can cause internal copper wiring to corrode and lead to short circuits. Clean the plastic casing with a damp cloth and use a dry cotton swab to clear dirt out of the pin holes.
3. Why can’t you use bleach to wash fencing whites?
Bleach weakens the synthetic aramid fibers (such as Kevlar or Dyneema) used in puncture-resistant fencing uniforms. Over time, bleach degrades the fabric’s Newton rating (e.g., 350N or 800N FIE standards), making the uniform unsafe for combat.
4. How do you prevent the épée blade from rusting?
Always dry your blade with a cloth immediately after practice before putting it into your bag. Never leave damp clothes wrapped around your weapon inside a closed bag.
Applying a micro-thin layer of mineral oil or gun oil with a rag once a month also protects the steel against humidity. You can also use a polishing stone to remove thin rust that appear.
5. What to do if my weapon fails the weight or gauge test at a competition?
First, check if the tip screws are tight. If the blade fails the weight test, replace the pressure spring inside the barrel with a fresh one. If it fails the gauge (travel) test, adjust or replace the smaller contact spring inside the tip. Use a precision screwdriver to remove the tiny screws before accessing both the pressure and contact springs.
Always carry spare springs, screws, and a screwdriver in your strip kit!